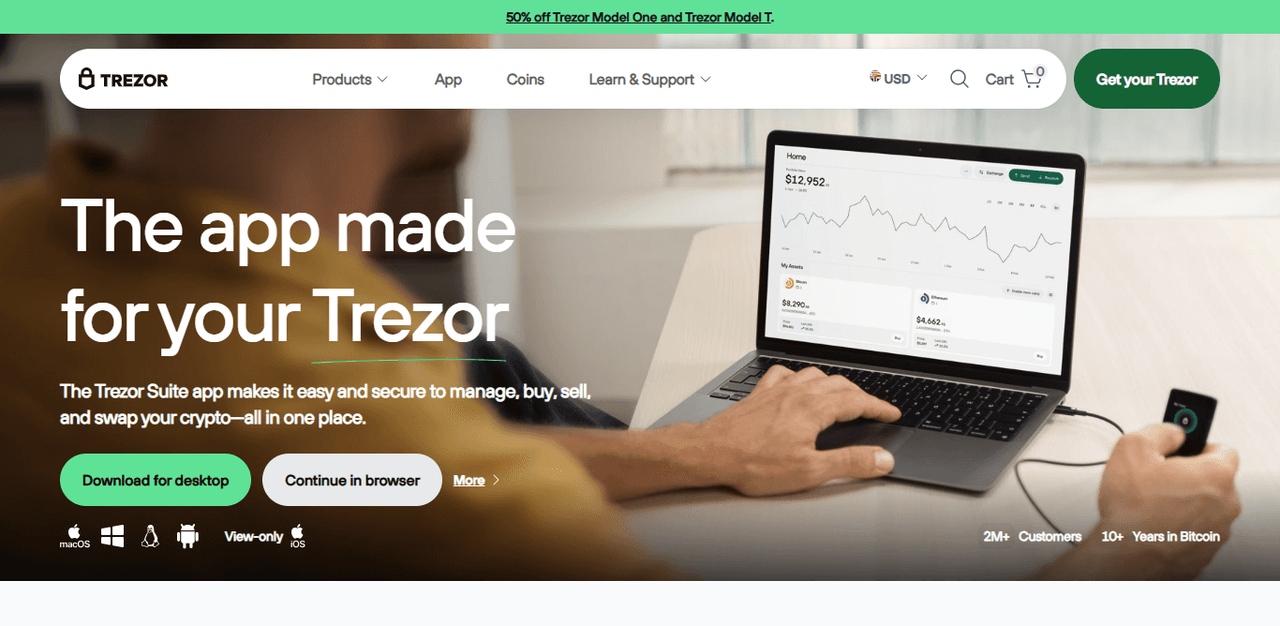
Welcome to Trezor.io/Start
Welcome to Trezor.io/Start, the official setup guide for your Trezor hardware wallet. Trezor provides a secure, offline solution to store cryptocurrencies, tokens, and digital assets, giving you full control over your private keys. Millions of crypto users trust Trezor for its advanced security, ease of use, and reliable protection against online threats.
This guide will walk you through the steps to set up your Trezor wallet safely and confidently.
Why Choose a Trezor Wallet?
Trezor hardware wallets keep your private keys offline, protecting them from hackers, malware, and phishing attacks. Unlike online wallets or exchanges, Trezor ensures that you remain in control of your digital assets.
Key Benefits:
Maximum Security – Private keys never leave the device.
Offline Protection – Hardware-based storage reduces exposure to threats.
Full Ownership – You are the sole custodian of your funds.
Multi-Currency Support – Compatible with thousands of cryptocurrencies and tokens.
NFT Management – Securely store and view NFTs on supported blockchains.
Trezor balances strong security with simplicity, making it suitable for beginners and advanced users alike.
What You’ll Need
Before you start, make sure you have:
A Trezor hardware wallet (Trezor One or Trezor Model T)
A computer or smartphone with internet access
A USB cable for connecting your device
A pen and the recovery sheet included in your box
⚠️ Important: Always set up your Trezor yourself. Do not use a wallet that has already been initialized.
Step 1: Download Trezor Suite
Trezor Suite is the official app for managing your Trezor wallet. Download it only from trezor.io/start.
With Trezor Suite, you can:
Set up and configure your Trezor device
Add accounts for multiple cryptocurrencies
Send, receive, and manage your digital assets
Track your portfolio
Safely connect to supported Web3 apps
Step 2: Initialize Your Trezor
Connect your device and follow the instructions in Trezor Suite.
During setup, you will:
Choose a PIN code
Generate a recovery seed (12, 18, or 24 words)
Confirm your recovery seed on the device
Protect Your Recovery Seed:
Write it down on the sheet provided
Store it offline in a secure place
Never share it with anyone or store it digitally
Your recovery seed is the only way to restore your wallet if your device is lost, stolen, or damaged.
Step 3: Add Accounts and Manage Crypto
Once initialized, you can add cryptocurrency accounts. Trezor supports:
Bitcoin (BTC)
Ethereum (ETH)
Litecoin (LTC)
Cardano (ADA)
Polkadot (DOT)
Thousands of other tokens
Every transaction is approved directly on your Trezor device, keeping your funds secure.
Security Best Practices
To keep your wallet safe:
Always visit trezor.io/start for official instructions
Never share your recovery seed
Verify addresses on your device before approving transactions
Avoid unofficial downloads or support messages
Trezor will never ask for your recovery seed online.
Take Control of Your Crypto
By setting up your Trezor wallet, you are securing your cryptocurrencies and digital assets safely. Whether holding long-term, trading, or exploring Web3, Trezor ensures you remain in full control.
Start today—your crypto, your keys, your control.